Adding a page to your WordPress website’s navigation bar is essential for making it easy for visitors to find important content. Here’s how to do it using the WordPress dashboard:
Step: 1
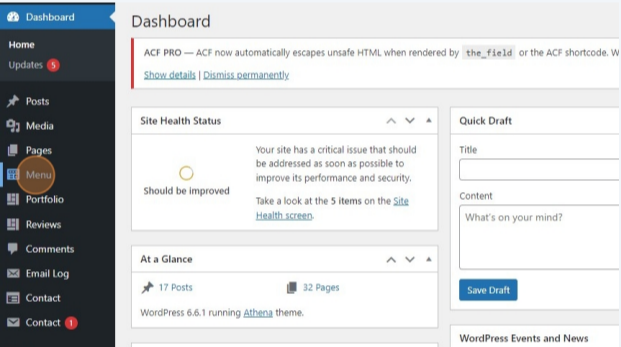
Within your WordPress admin area, select menu, sometimes this can also be found under appearance > menu.
Step: 2
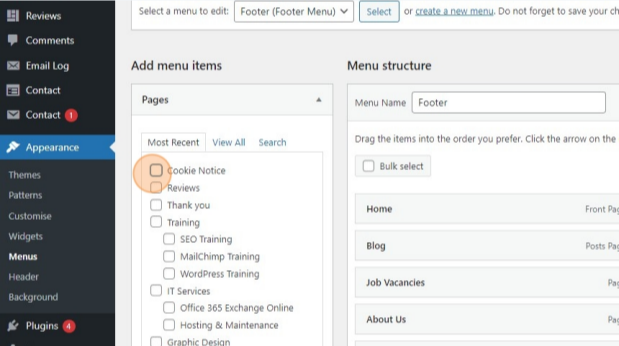
Select the page you would like to add to the navigation bar.
Step: 3
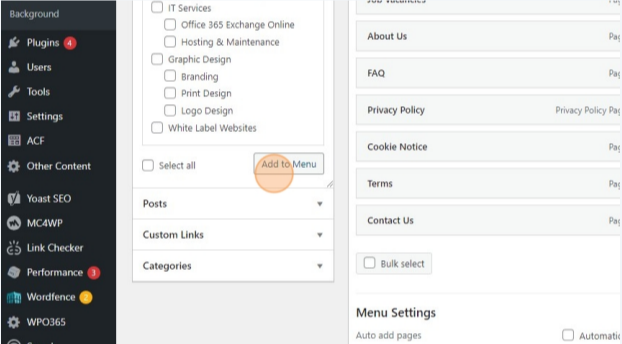
Click on add to menu.
Step: 4

To move the page to where you would like it on the navigation bar, select it and drag it into position.
Step: 5
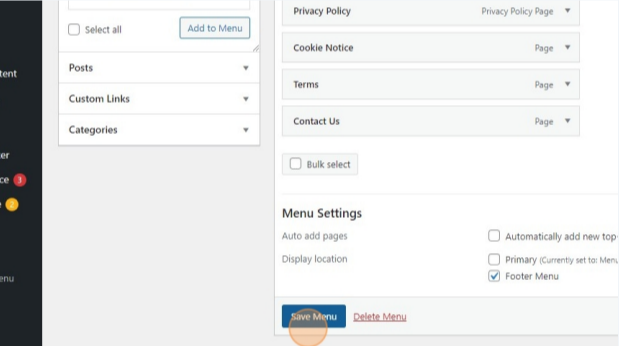
Once you are happy, click on save menu.